
A wood drill that overheats, burns the material, or no longer centers almost always indicates a geometric defect on the cutting edges. Before purchasing a complete set, a few well-mastered sharpening techniques are enough to achieve a clean drilling. It is essential to adapt the technique to the type of drill and the wood being drilled.
Point angle and clearance: adapting geometry to the drilled wood
We often observe a single reflex: reproducing an identical point angle regardless of the material. This approach works for fir or spruce, but not for solid oak or dense tropical wood.
Read also : Smart Gardening: The Best Tips for Growing Your Summer Vegetables
For softwoods and soft woods, a closed point angle, close to 118°, promotes the self-feeding of the drill and quick chip removal. The drill bites quickly, and the fiber offers little resistance.
In contrast, for dense tropical hardwoods (ipe, cumaru, padouk), we recommend opening the angle to about 130° and reducing the clearance. This flatter geometry limits the self-feeding phenomenon which, in dense wood, causes excessive heating and burn marks around the hole. Dormer Pramet specifically recommends this angle opening in its technical sheets dedicated to drilling wood and plastics.
Read also : The best platforms for an ultimate streaming experience
Anyone wishing to sharpen a wood drill with Les Copeaux will find a detailed protocol that incorporates these distinctions according to the drilled species, which most video tutorials never mention.

Brad Point and self-centering drills: the limits of freehand sharpening
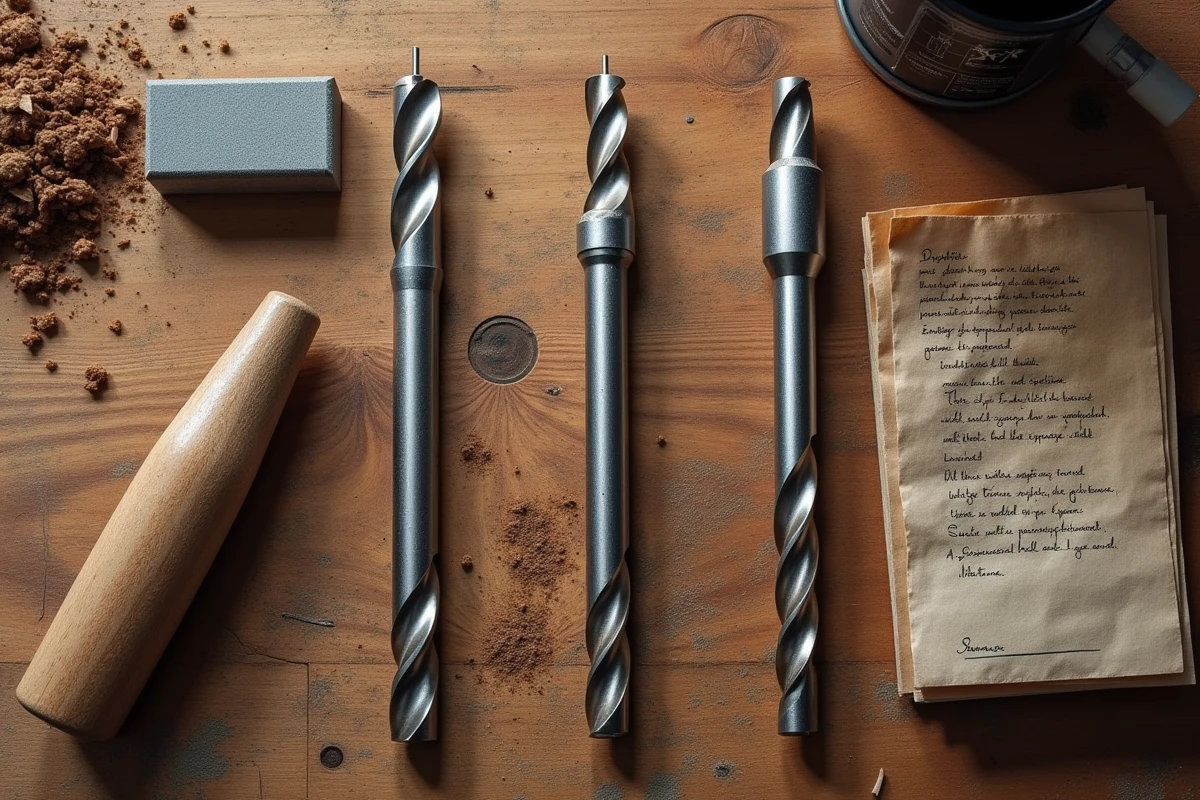
Not all wood drills are sharpened the same way. Classic spiral drills with conical tips can be ground on a bench grinder with a satisfactory result, provided that the symmetry of the edges is respected. Brad Point drills (with centering tips and lateral chip removers) present a different problem.
Their geometry is factory-cut by CNC with distinct edge angles and sometimes asymmetric clearances. Freehand sharpening on a grinder destroys the concentricity of the tip and unbalances the lateral edges. The resulting hole will then be oval or offset.
Fisch Tools and Festool explicitly state in their manuals that these models should not be sharpened freehand. Two viable options remain:
- Use a dedicated jig that holds the drill at the exact angle during grinding, locking the axial rotation
- Entrust the drill to a professional sharpening service equipped with an indexed clamp sharpener
- Limit home intervention to a simple refresh of the lateral chip removers with a fine diamond file, without touching the tip
A poorly sharpened Brad Point drill drills less effectively than a new standard drill. Before taking out the grinder, identify the exact type of drill you are handling.
Grinding on a bench grinder: checking the symmetry of the edges
For a standard spiral drill, the bench grinder remains the most accessible tool. The fine-grit wheel (white aluminum oxide, minimum grit 60) is suitable for common HSS steels. A wheel that is too aggressive tears material instead of cutting it and generates micro-chips on the edge.
Symmetrical grinding protocol
The most common defect after home sharpening is the asymmetry between the two edges. One edge longer than the other offsets the drill and enlarges the hole. To control this point, we recommend using a permanent marker on each edge before grinding. The marker erases upon contact with the wheel: if the ink disappears evenly from both sides, the material removal is homogeneous.
Present the drill against the wheel resting on the tool support, with the edge facing up. Apply a slight wrist rotation downward at the end of the pass to generate the clearance. Then turn the drill 180° and replicate exactly the same gesture on the second edge.
Check the symmetry by placing the tip of the drill on a flat surface and observing the two edges from the front. A visible gap to the naked eye between the edge lengths requires reworking.
3D printed jigs and angular control
3D printed sharpening jigs have become widespread in woodworking communities. These plastic pieces hold the drill at the desired angle and allow you to reproduce a constant point angle from one sharpening to another. Several downloadable models include visual markers to check the symmetry of the edges directly on the jig, without measuring instruments.
Signs of wear and sharpening frequency for a wood drill
A drill that requires abnormal pressure to start cutting wood, produces fine dust instead of curled chips, or leaves a blackened hole edge must be sharpened. The color of the chips is the best indicator: brown or black chips signal overheating due to friction, indicating a dull edge.
In practice, an HSS drill used regularly on semi-hard woods (beech, ash) can handle several dozen drillings before losing its edge. On silica-rich woods (teak, certain phenolic plywoods), wear is significantly faster.
- Common softwoods: spaced sharpening, the drill retains its edge for a long time due to the low hardness of the material
- Dense European hardwoods (oak, beech): plan for a refresh after each series of significant drillings
- Tropical woods and mineral binder panels: the drill dulls quickly, a visual check after each use is justified
Store drills in an individual holder (canvas roll or drilled block) rather than loose in a drawer to preserve the cutting edges between uses. A drill whose tip hits other metal tools loses its sharpness even before being used.
Sharpening a wood drill remains an accessible task provided that the geometry specific to each type of drill is respected and that the technique is not forced on models that do not lend themselves to it. A jig, a marker, and a fine-grit wheel cover most situations encountered in a home workshop.